Last week, my much anticipated touchscreen display (2.8" TFT LCD with Touchscreen Breakout Board w/ MicroSD Socket) arrived for a new project I want to start! I'd like to create two smart "watches" that can send doodles back and forth (This is what I'm using that Spark Core for).
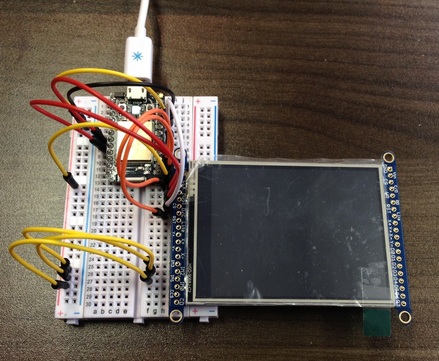
My Spark Core hooked up to my new fancy touchscreen display
A 2.8" display is a bit large to be worn on the wrist, but I did find the same product in a 2.4" size that I may order soon to replace it.
So once I received the display, I could try using the local Particle Dev IDE to get the screen running. I started first by going through Adafruit's instructions on how to wire and test the display with SPI (it can also do 8-bit). I hooked all of the wires up, and the display lit. Beyond that, I started to have problems.
Like I said, Spark Core is Arduino-compatible, so it should work pretty straight-forwardly with Arduino code. The instructions for the display are all written for the Arduino Uno, but I tried reading them in the instance of a Spark Core instead. My problem came up when I tried to place the required libraries for the display test code into the Particle folder. I tried just copy-and-pasting the libraries into the Particle folder, but it still ran errors that they didn't exist.
After about an hour or so working with these errors I decided to switch over to the Arduino Uno so that I could play with the display, even though the Uno is too large for the wristband I will be making. With the "graphicstest" sample code given on Adafruit's website, I easily had the screen displaying a loop of colorful graphics moving around the screen. This was more exciting than it probably should've been without doing any of the coding.
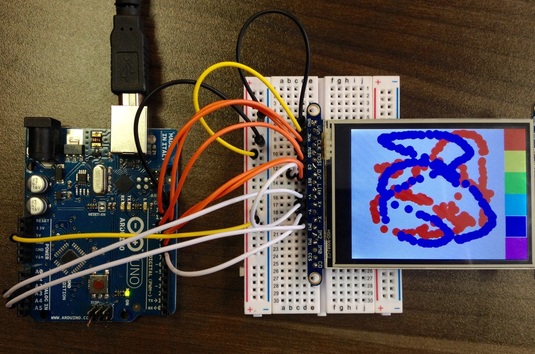
After that, I tried the "touchpaint" code provided, which let me make drawings on the screen like this:
So once I received the display, I could try using the local Particle Dev IDE to get the screen running. I started first by going through Adafruit's instructions on how to wire and test the display with SPI (it can also do 8-bit). I hooked all of the wires up, and the display lit. Beyond that, I started to have problems.
Like I said, Spark Core is Arduino-compatible, so it should work pretty straight-forwardly with Arduino code. The instructions for the display are all written for the Arduino Uno, but I tried reading them in the instance of a Spark Core instead. My problem came up when I tried to place the required libraries for the display test code into the Particle folder. I tried just copy-and-pasting the libraries into the Particle folder, but it still ran errors that they didn't exist.
After about an hour or so working with these errors I decided to switch over to the Arduino Uno so that I could play with the display, even though the Uno is too large for the wristband I will be making. With the "graphicstest" sample code given on Adafruit's website, I easily had the screen displaying a loop of colorful graphics moving around the screen. This was more exciting than it probably should've been without doing any of the coding.
After that, I tried the "touchpaint" code provided, which let me make drawings on the screen like this:
I'm very lucky for having this platform to work off of for my project. Right away, I pin-pointed the user experience changes I wanted to make:
- Right now, when you are drawing something and your fingers accidentally slides over a color box, it changes the color of your line. I want it to keep the color from changing unless your finger lifts then presses the color box intentionally.
- As displayed in the image above, the lines are made with a series of circles. When you draw a line too quickly, the circles get separated and don't look like a seamless line. I want to give the application smoother lines.
- For some reason, the colors that were being used in the code were falsely named. (The background was assigned black in the Arduino sketch, but displayed white, and the color boxes were displayed out of order from the sketch.)
- I'd like to integrate an "Undo" option to the drawing function.

 RSS Feed
